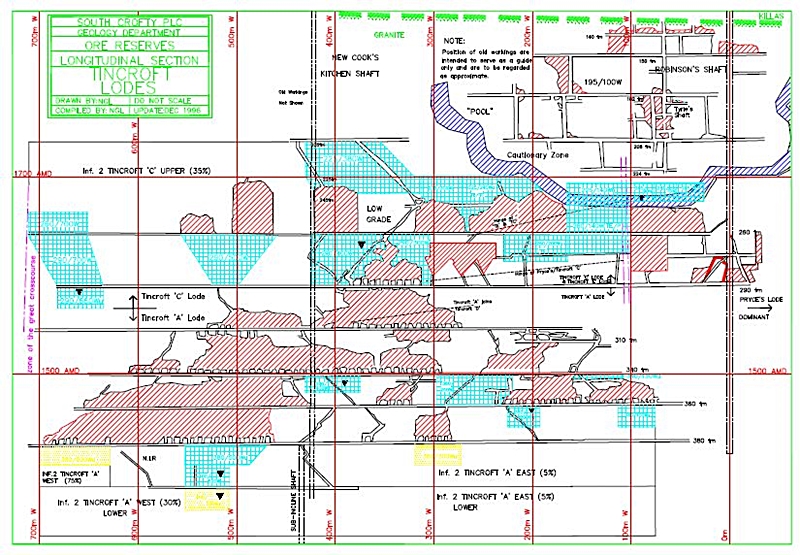
South Crofty Mine Long Sections: The information on this page was written by my late friend Dr Nick LeBoutillier and reproduced here with his permission.
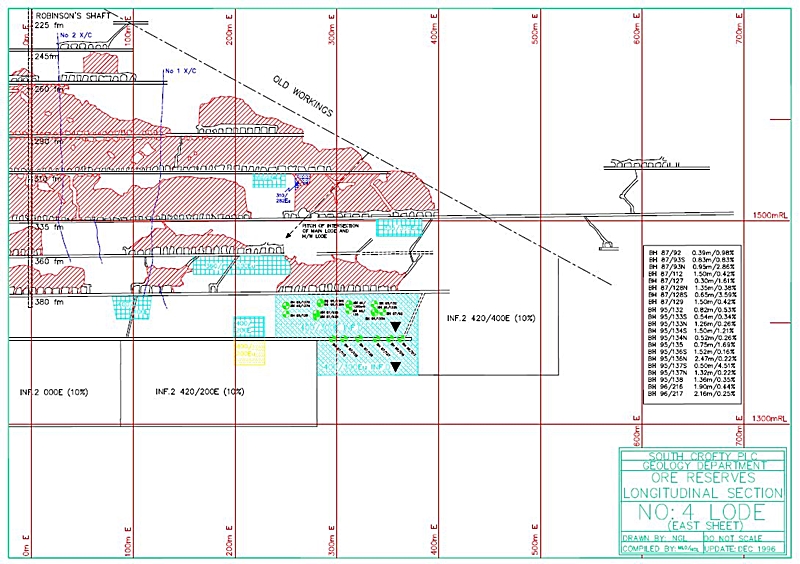
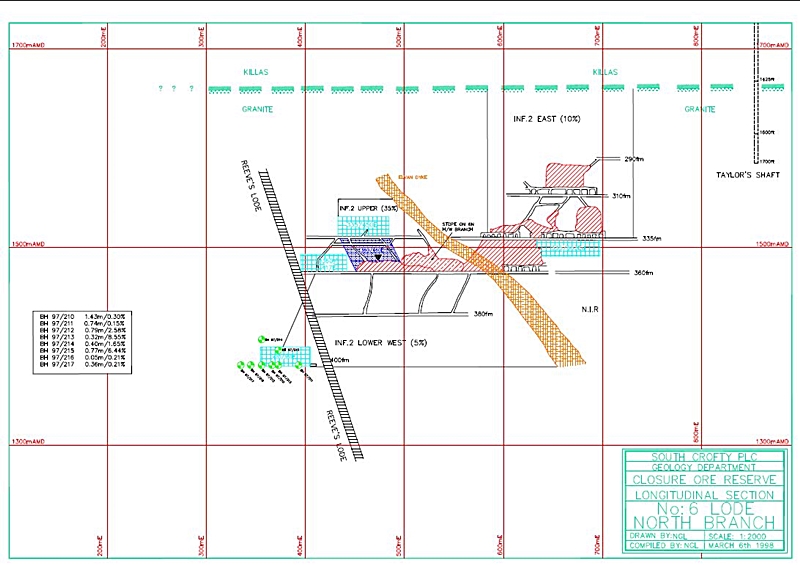
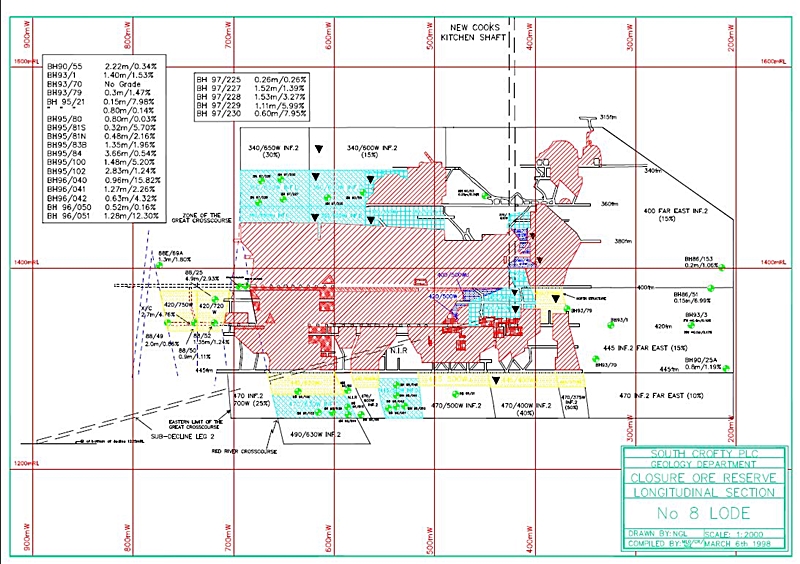
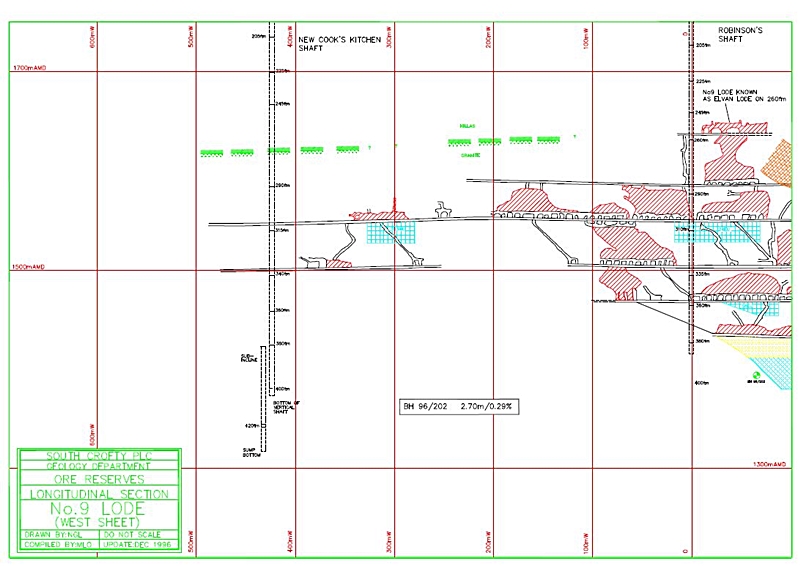
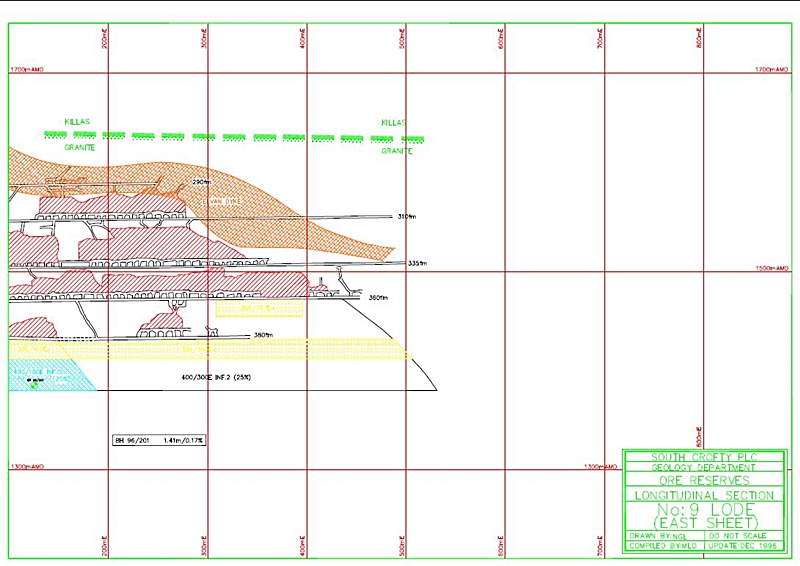
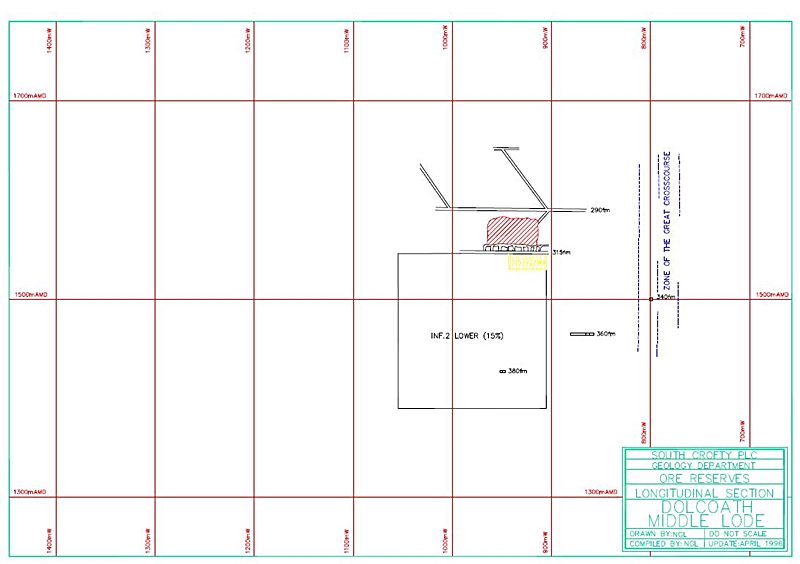
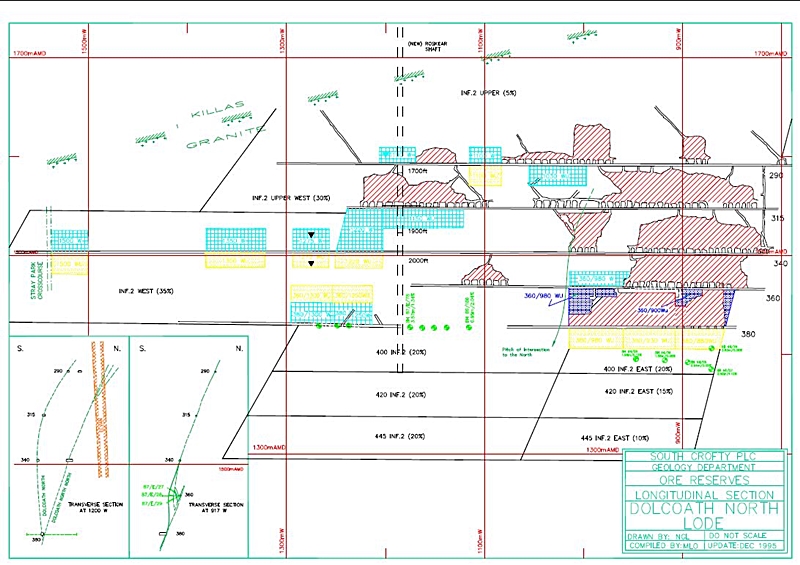
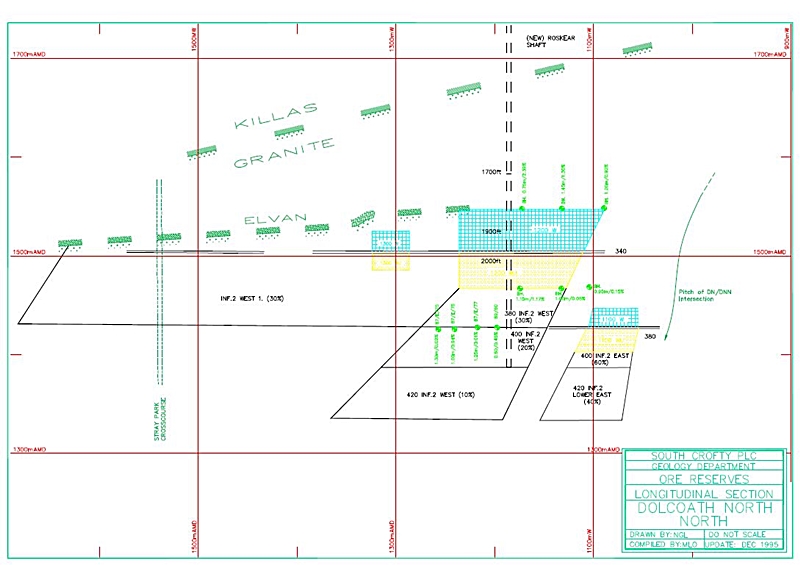
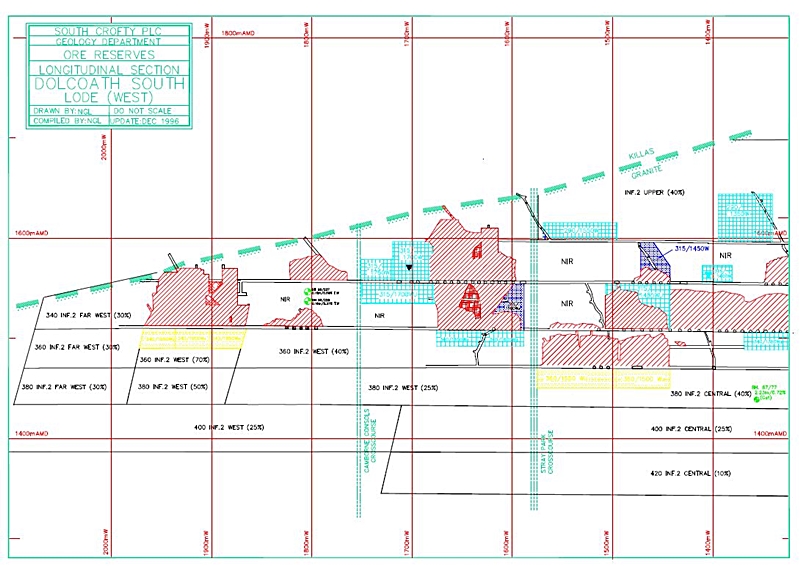
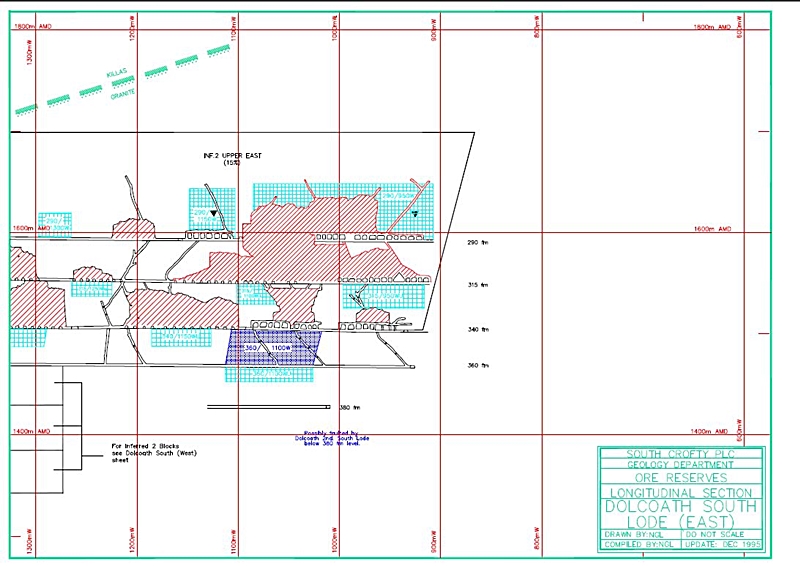
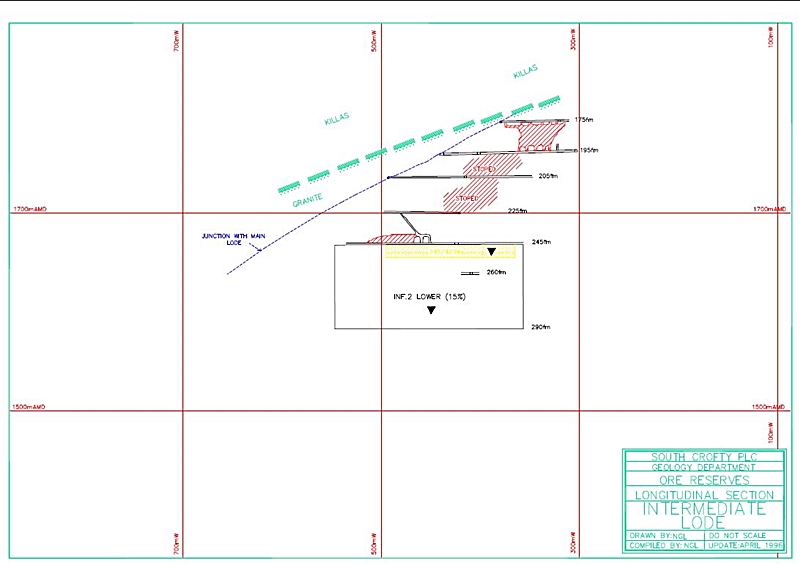
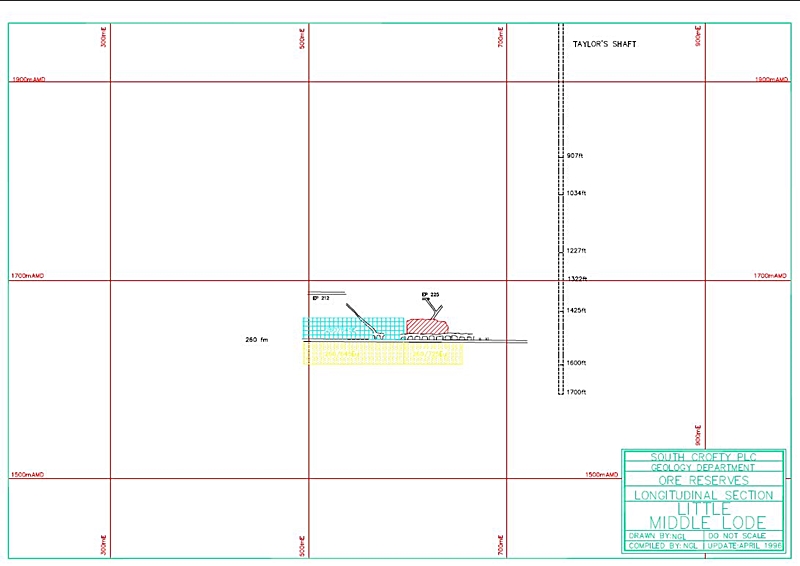
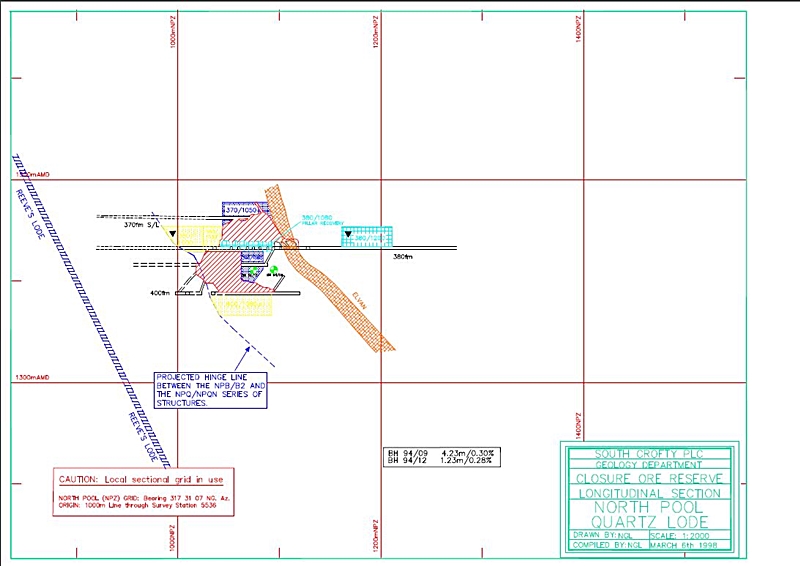
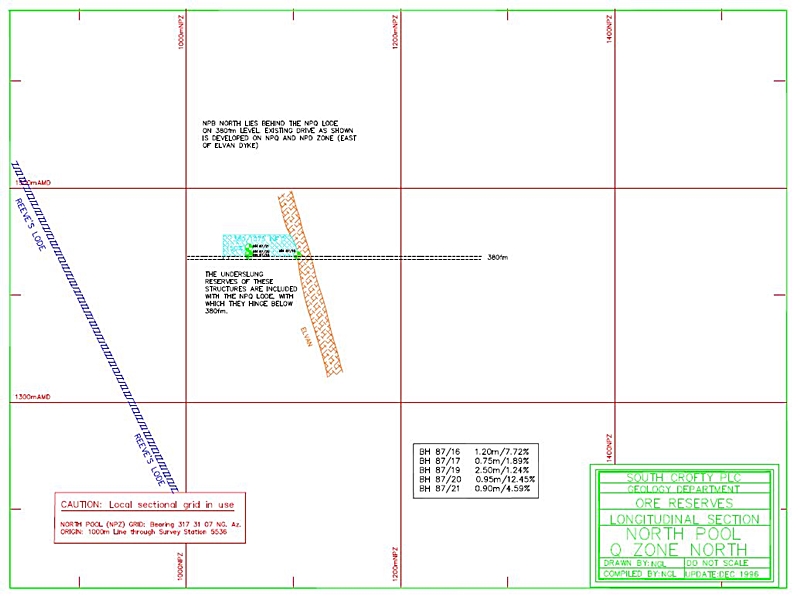
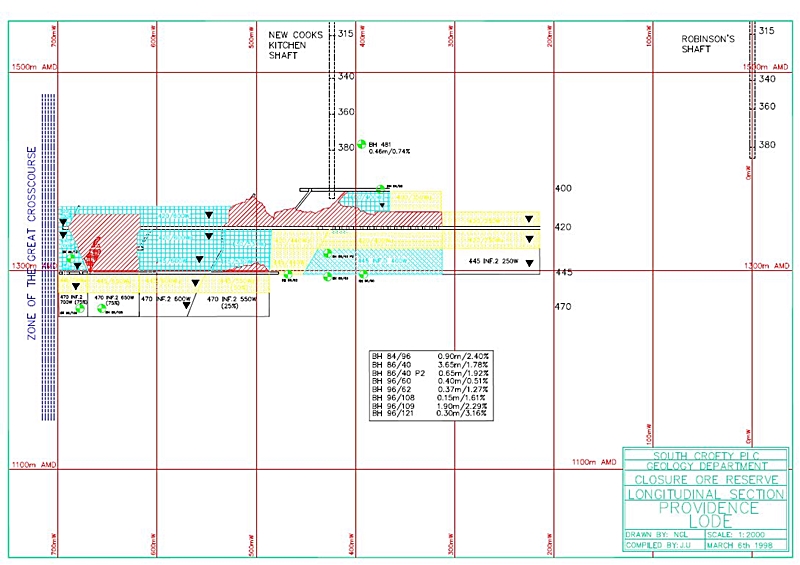
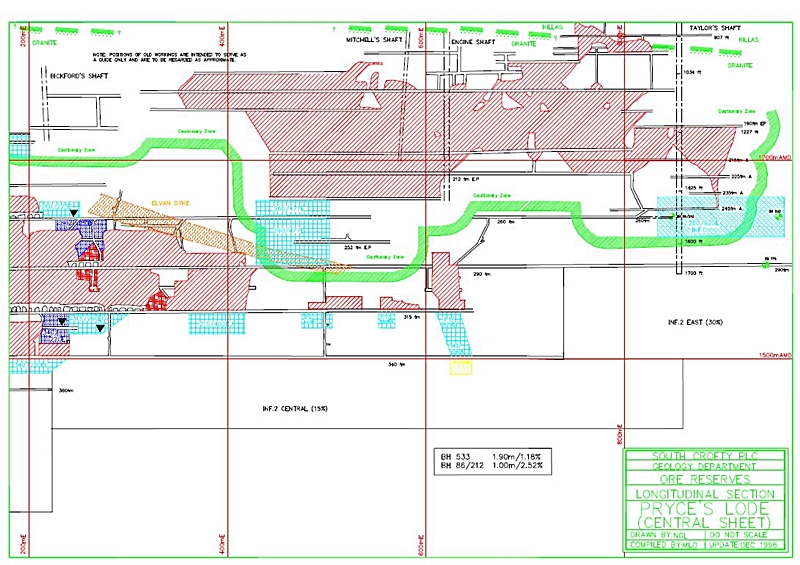
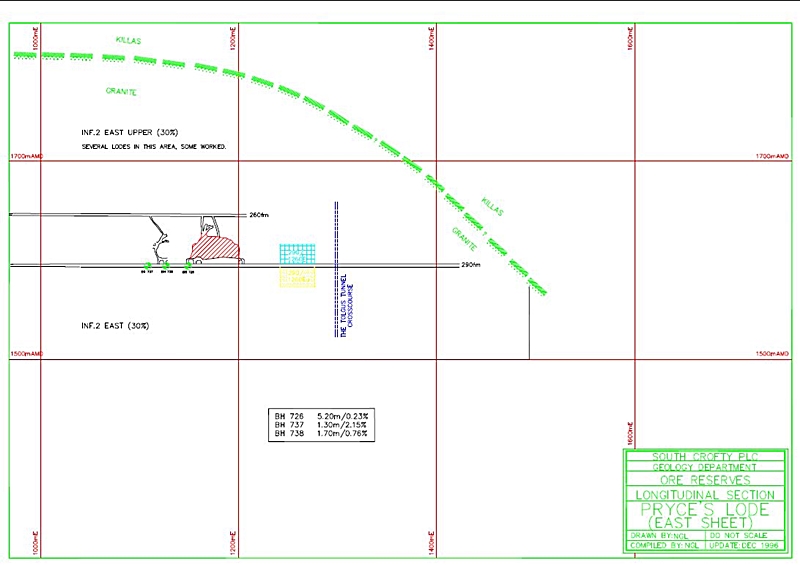
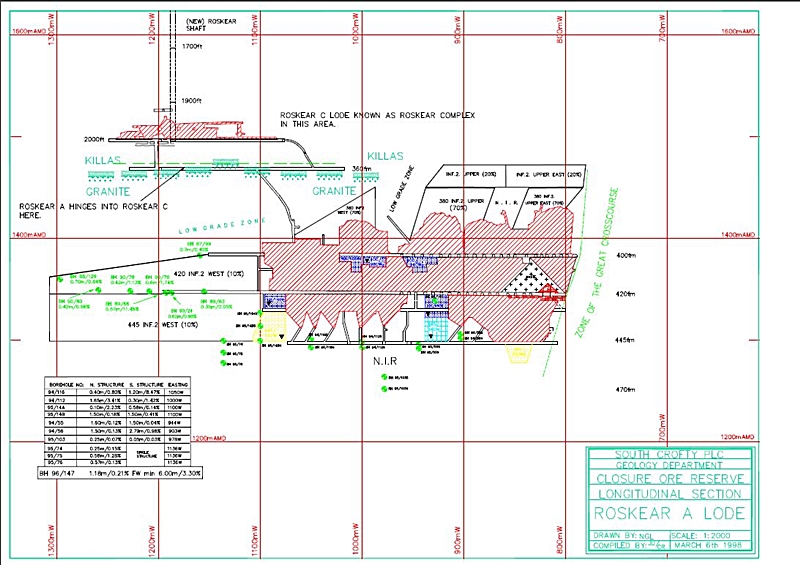
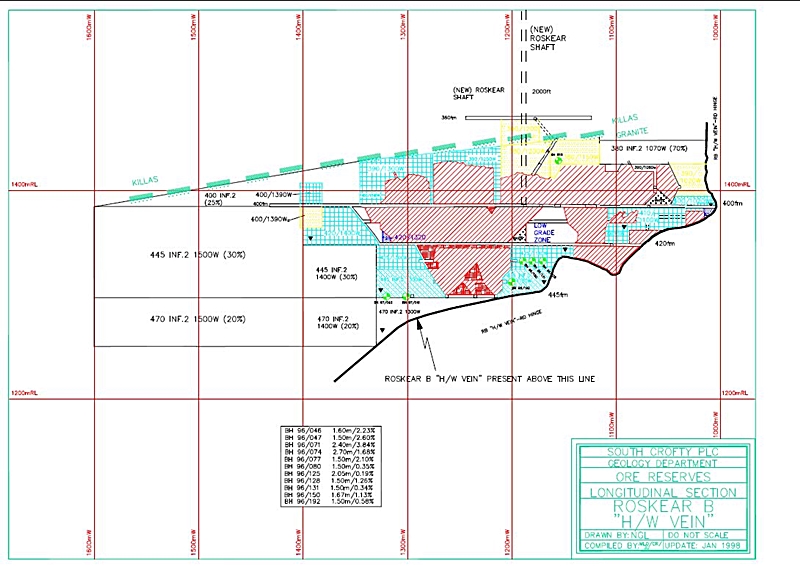
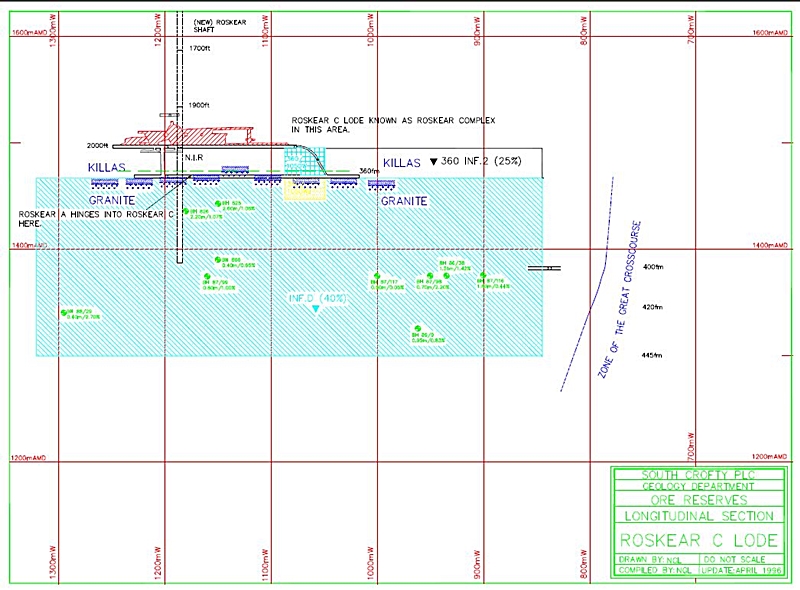
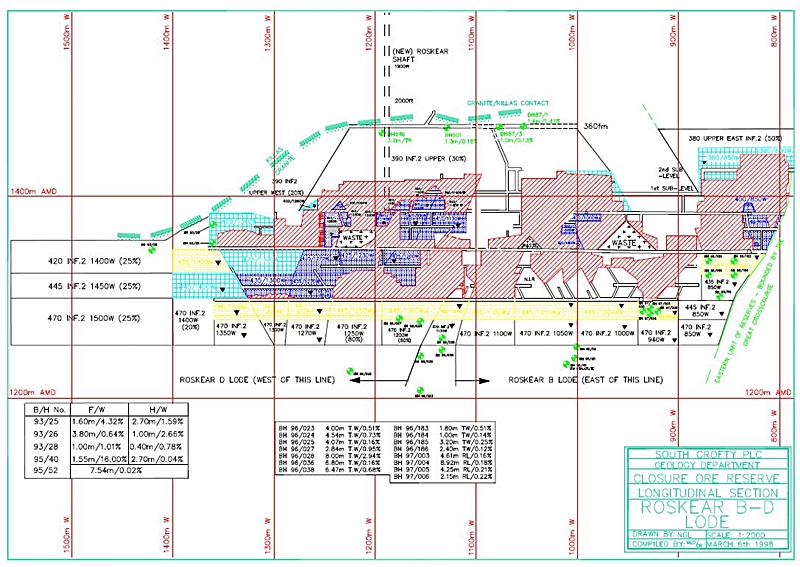
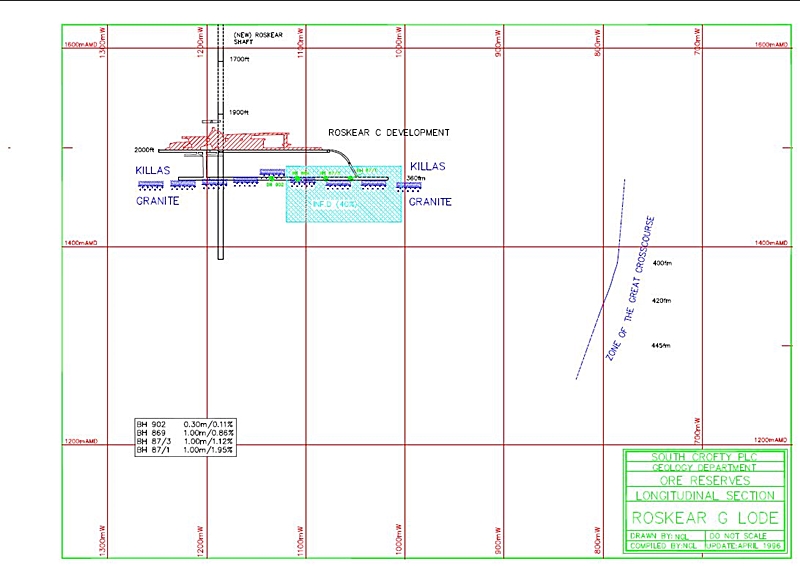
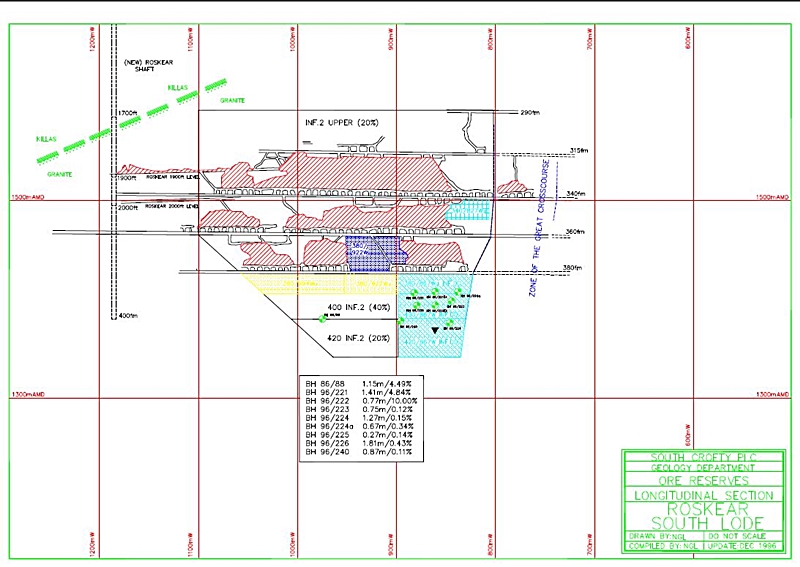
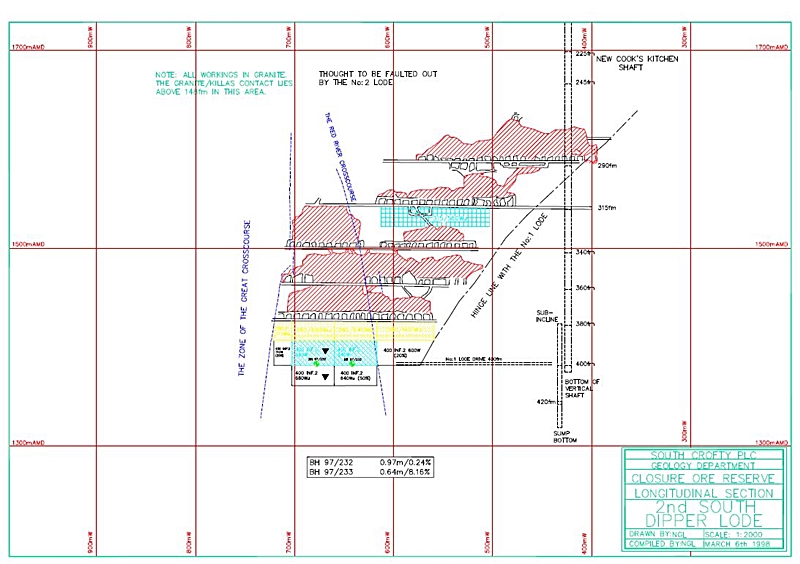
South Crofty Mine produced an updated Ore Reserve Document every six months. This document set out all the mineral reserves of the mine on a lode by lode basis. So, each lode was divided into blocks, roughly 50m along lode by 30m down dip. However this could vary markedly due to a variety of geological or planning factors.
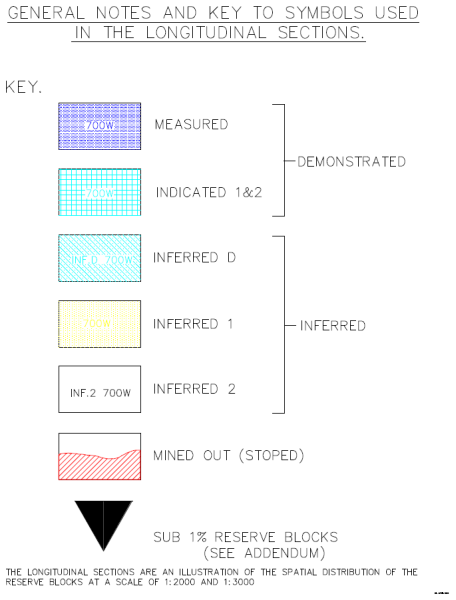
These were coded according to how much confidence could be placed on the grade and tonnage within the block. Measured blocks, highest confidence were sampled extensively from level exposures, raises, diamond drill intercepts also sludge drilling to give large number of samples to base the final grade calculation on.
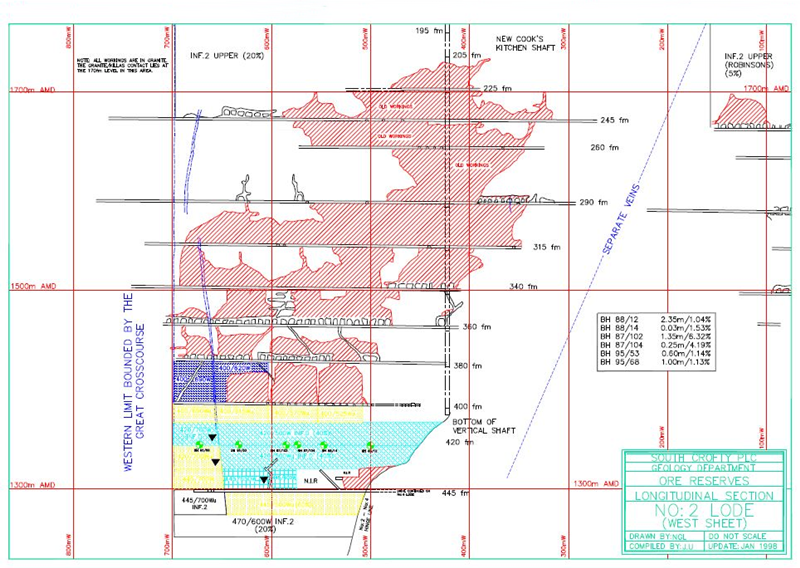
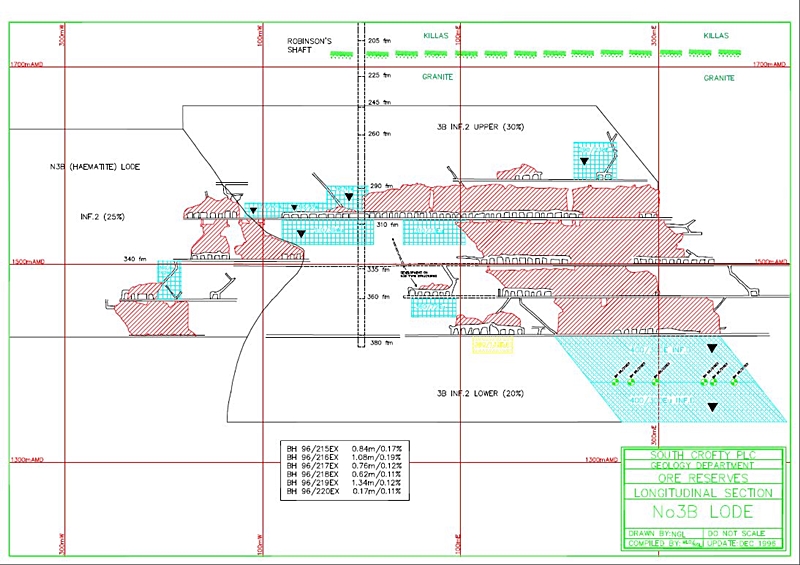
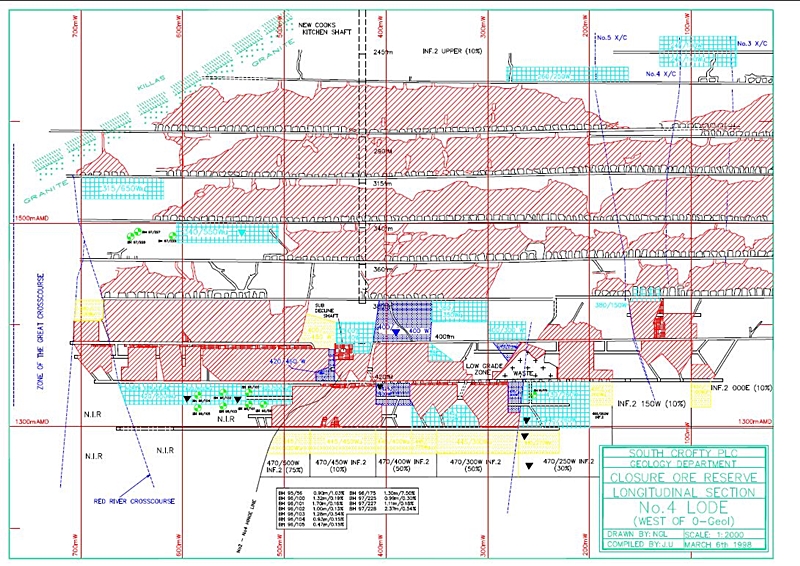
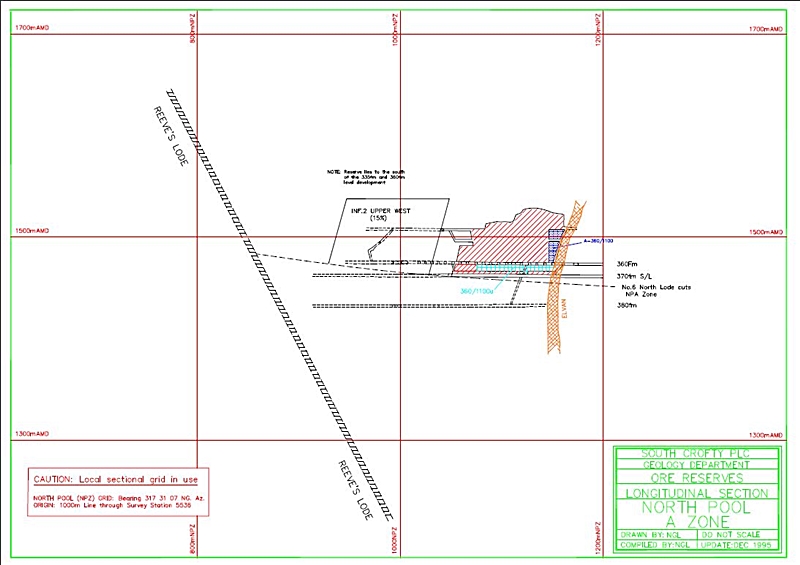
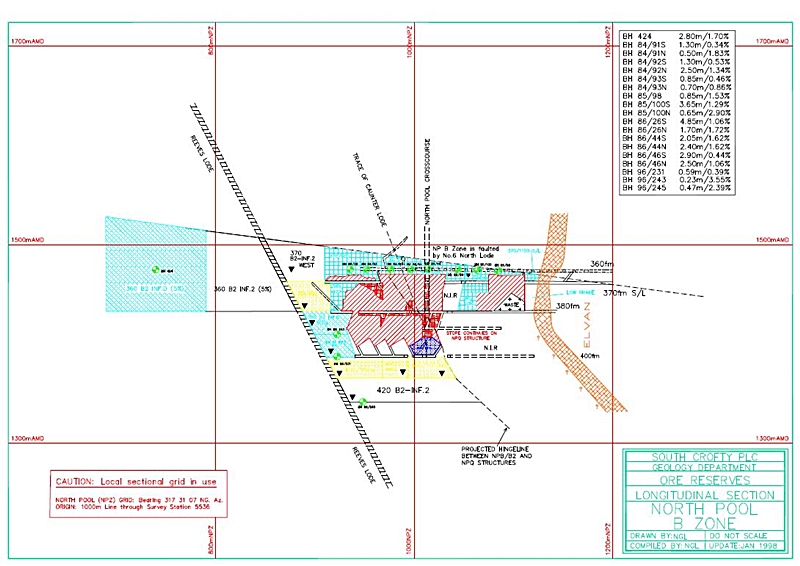
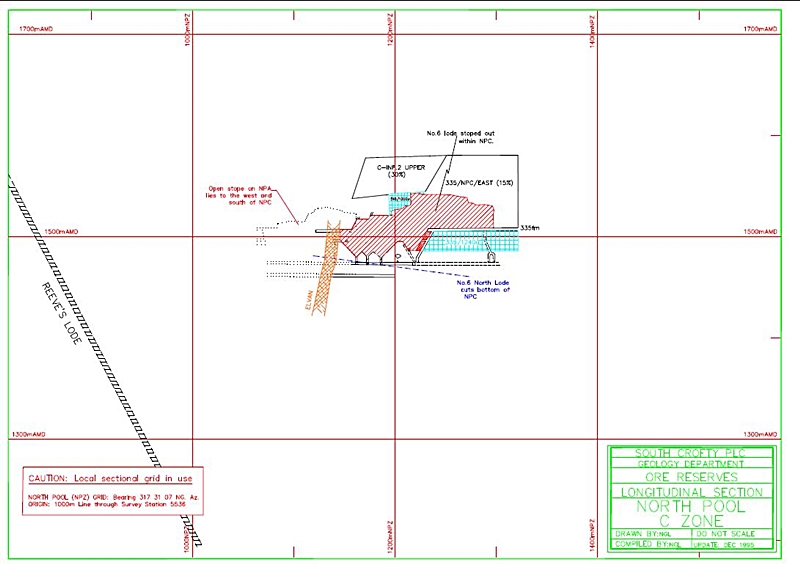
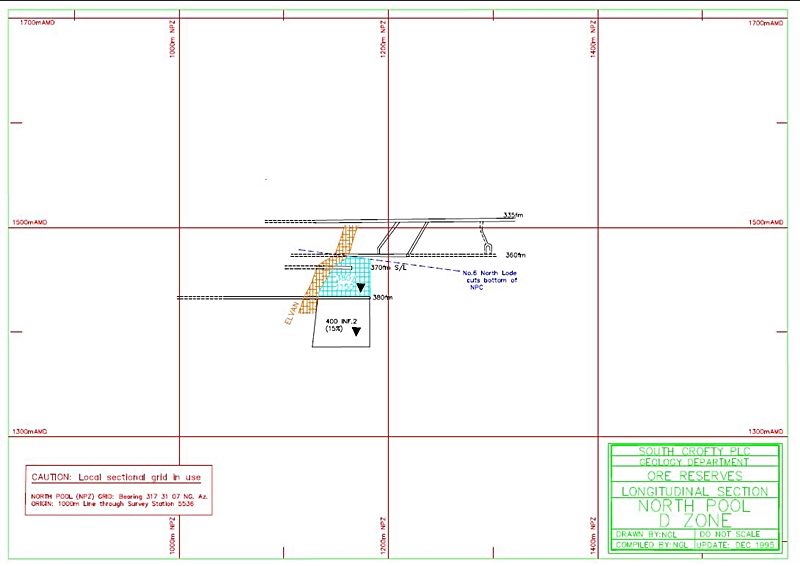
Indicated I and II and Inferred I and II blocks had progressively less information on which to base the block grade and were therefore lower confidence blocks. Ideally a block would be upgraded over time, from Inferred II to Measured, as development took place around it and more drilling information became available. All the block information was put onto a long section of each lode. This showed the block distribution also the position of stoped out areas and pillars. These sections were also regularly updated to keep pace with stoping and new development.
The sections, along with their accompanying data, were essential for planning the supply of tin to the processing mill, with blocks of different grade being ‘blended’ to give a consistent feed of around 1.5% Sn. Various blocks, within a 3 month cycle, would be earmarked for extraction. However, it was of prime importance that the grade and tonnage assigned to each block was as accurate as possible. This would also ensure a steady supply of ore, at the correct grade. So, too rich, or too poor, and the mill would become inefficient and valuable tin concentrate maybe lost. Also contaminants such as Wolfram and Arsenopyrite had to be carefully monitored.
South Crofty Mine Long Sections
The following lode sections appeared in the closure reserve of South Crofty Mine. Produced by Mark Owen (Chief Geologist) and Nick Le Boutillier (Senior Geologist) on March 6th 1998, the official date of closure of the mine. This document catalogued the in-situ resources still existing in the mine on that date, which consisted of:
93,800 tonnes at 1.66% Sn Measured.
636,950 tonnes at 1.45% Sn Indicated.
2,172,850 tonnes at 1.48% Sn Inferred.
Giving at total identified resource of 2,903,600 tonnes at 1.48% Sn, though only a little over 730,000 tonnes could be demonstrated with any high degree of confidence. It should be borne in mind that this is a geological resource and simply reflects what is in the ground without any economics being applied to it,so can it be extracted at a profit?.
Many of the reserve blocks were uneconomic for a variety of factors. Either too distant from the hoisting shaft, low grade, blocked off or radon-rich workings. The cost of putting in air and track more than the value of tin contained so would likely never be worked under normal circumstances.
At the time of closure, due to a lack of development and exploration in the last 6 months of working, there were only weeks of ore left on the books. Without doubt in the future, a massive exploration program would be required to uprate the available ore. Also the existence of a ‘tin zone’ had been identified at South Crofty, where cassiterite concentrations reached an optimum level. This economic zone would pinch and swell according to the tin price as grades fell towards the upper and lower margins, but maintain its attitude, based on temperature at the time of deposition.
This zone dipped at a shallow angle in the same direction as the granite contact, this meant that lodes to the north and northwest became viable at progressively deeper levels in those directions. Exploration was due to focus on lodes known, but uneconomic at 360fm and 380fm north of Providence Lode and Roskear A Lode. In order to see if they were viable at 420fm and below. But this was just before the closure of the mine was announced.
The following sections below were drawn by Nick Le Boutillier in AutoCAD as part of a drive to digitise the lode sections. Originally the sections were draughted by hand onto film by the mine’s draughtsmen, including Ken Docherty and also the late Nick Talbott.
