South Crofty Robinsons Shaft 3

South Crofty Robinsons Shaft 3: When these images were taken the buildings were still open but the vandals had started to leave their mark.

I visited again a few months later all the entrances had been blocked up and the site was securely fenced off.

Although the site had been badly vandalised it still held a magic and atmosphere that was difficult to describe.
My main regret is that I did not have a chance to take more pictures and do a proper site survey.

All the images on this page were taken in the now demolished Dry and Offices.
South Crofty Robinsons Shaft 3
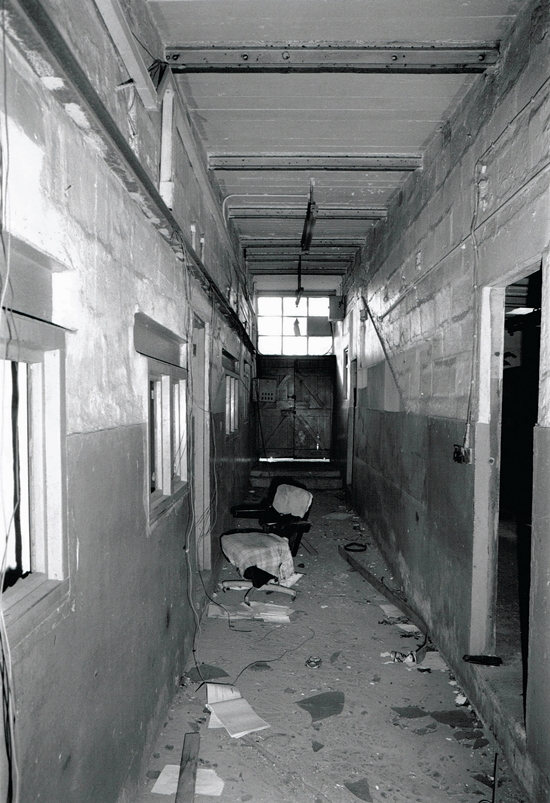
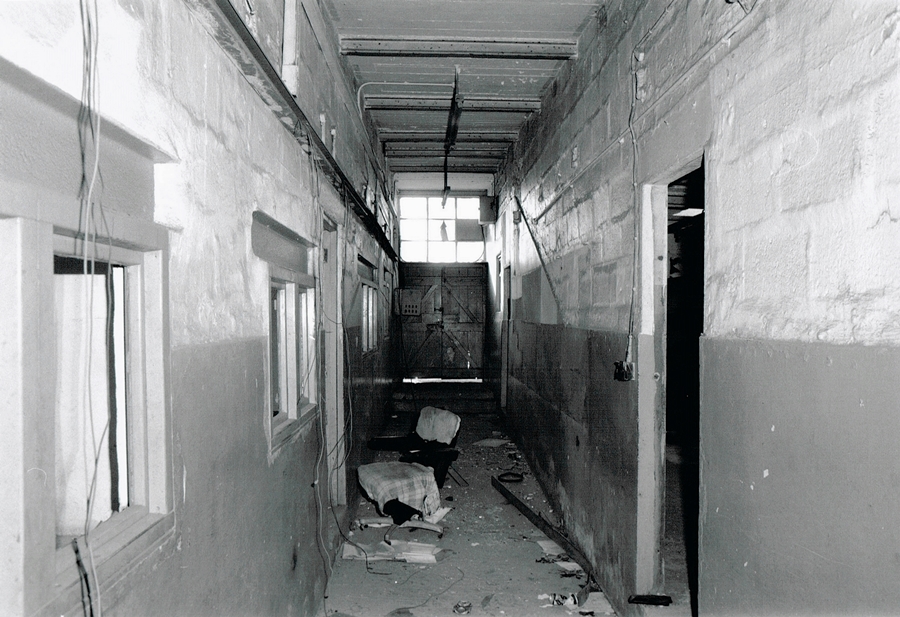
South Crofty Robinsons Shaft 3.1 – The dimly lit passageway leading to the mine offices. This is looking towards the double doors that opened onto the mine yard Shaft Bank Shelter.
South Crofty Robinsons Shaft 3
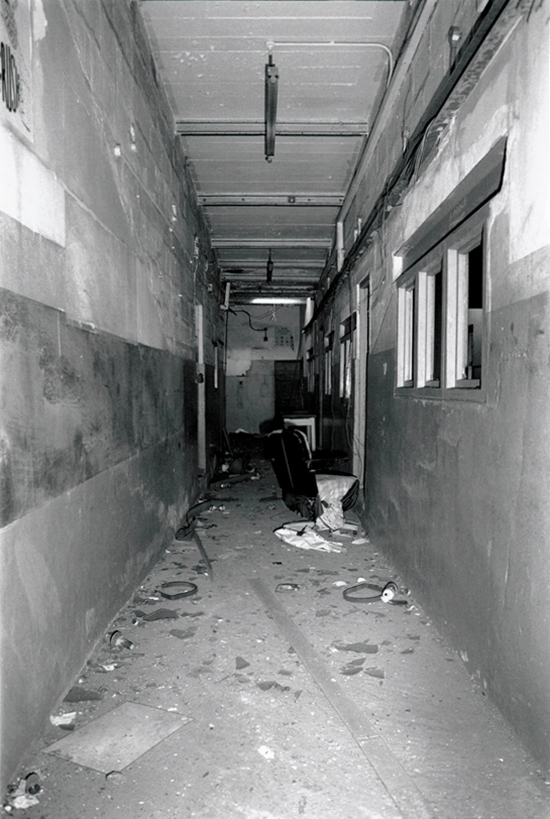
South Crofty Robinsons Shaft 3.2 – The miners would have walked along here at the start of their shift. I believe that the last window on the left hand side of the corridor was the Detonator Storage Room.
South Crofty Robinsons Shaft 3
South Crofty Robinsons Shaft 3.3 – Looking down the passage the other way towards the admin offices.
South Crofty Robinsons Shaft 3
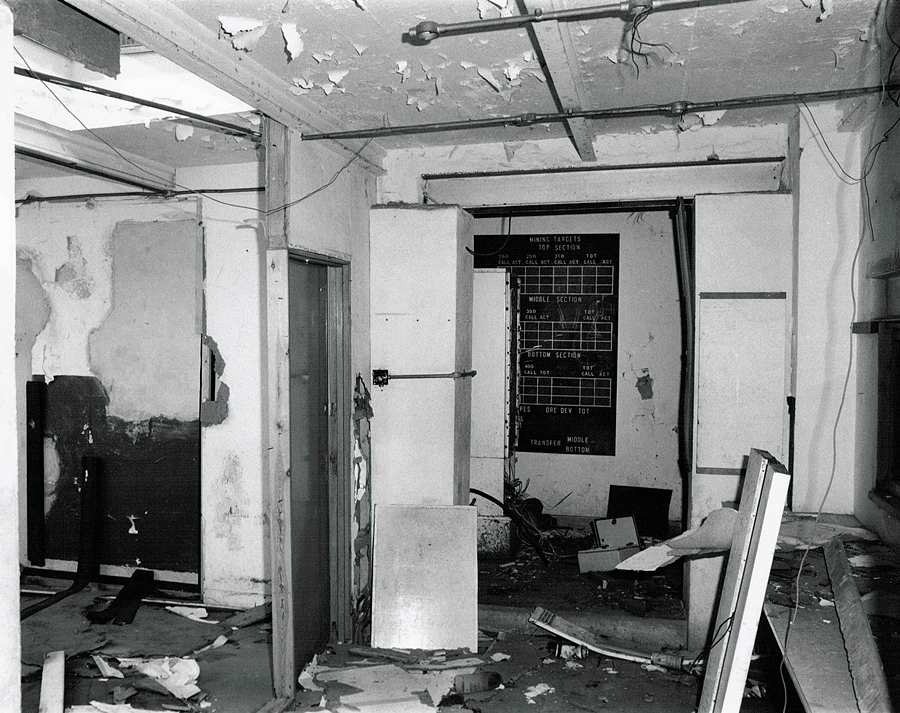
South Crofty Robinsons Shaft 3.4 – The smashed South Crofty Mine Robinson’s admin area, The blackboard in the background was a record of recovered ore tonnage for specific areas of the mine.
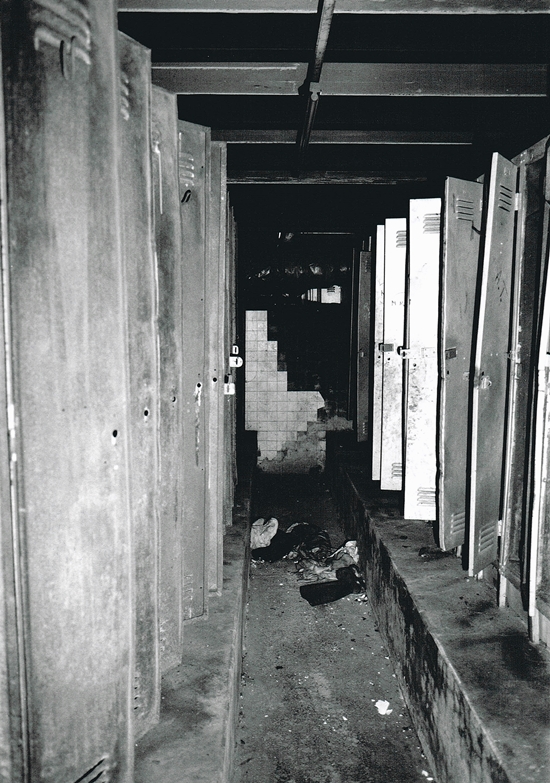
The next set of images were taken in the Dry. Miners would have changed their clothes here,before and after shifts.
South Crofty Robinsons Shaft 3
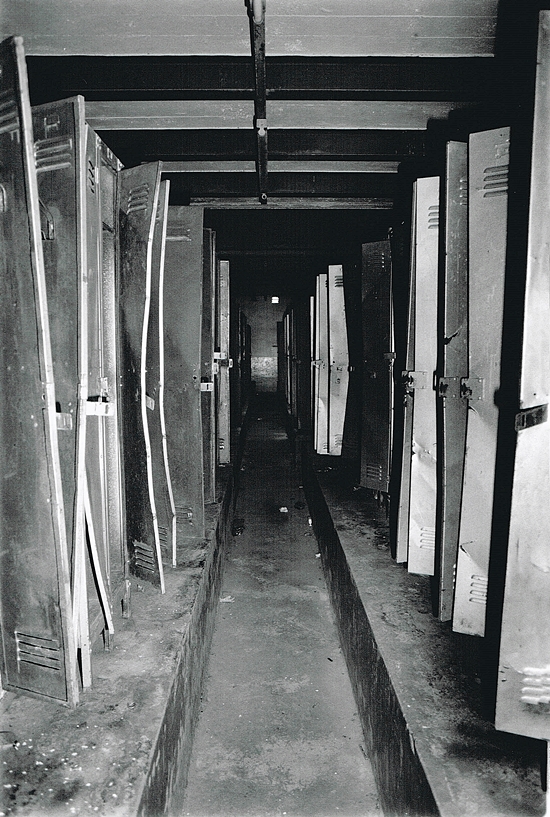
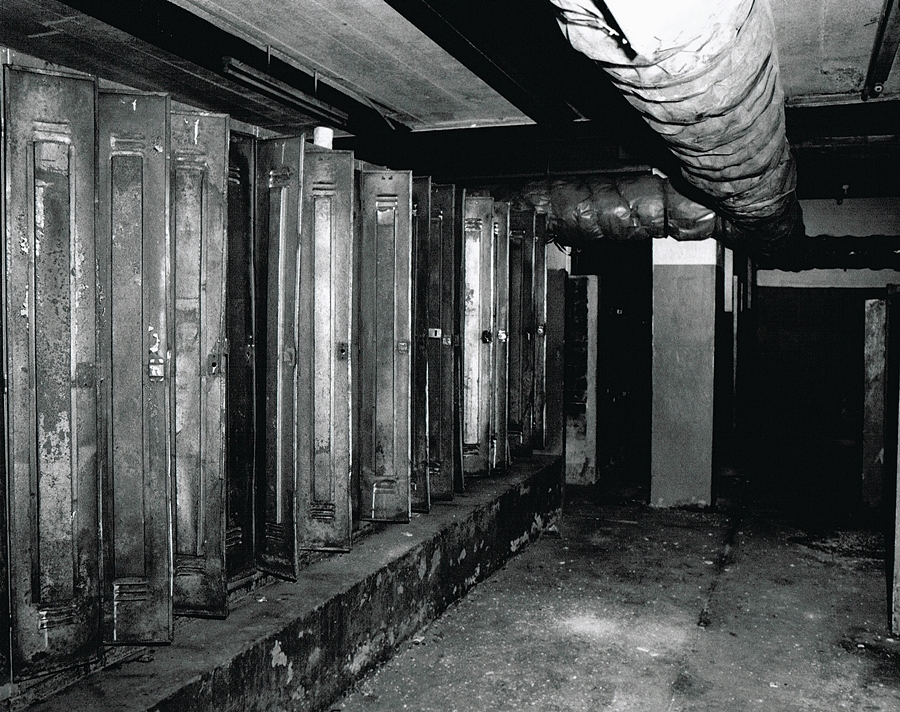
South Crofty Robinsons Shaft 3.5 – The Robinson’s Side Dry was constructed during the early 1960’s. This was the primary changing room for the mine until the early 1990’s.
South Crofty Mine Robinson's Side
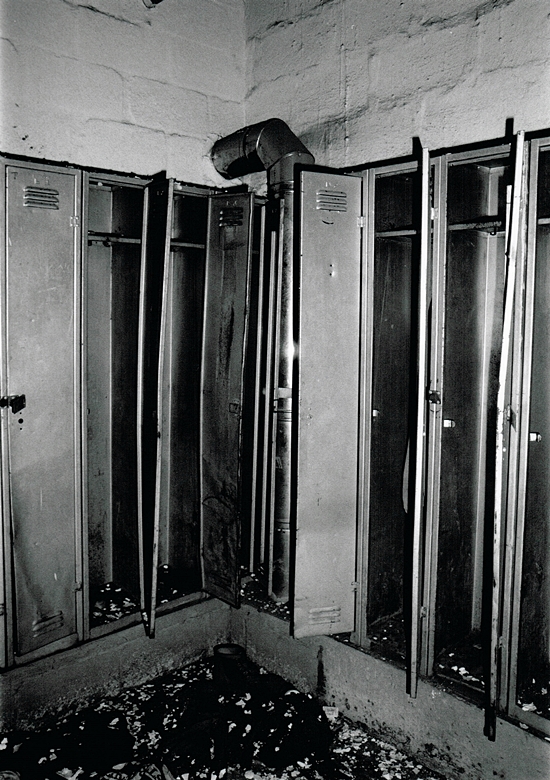
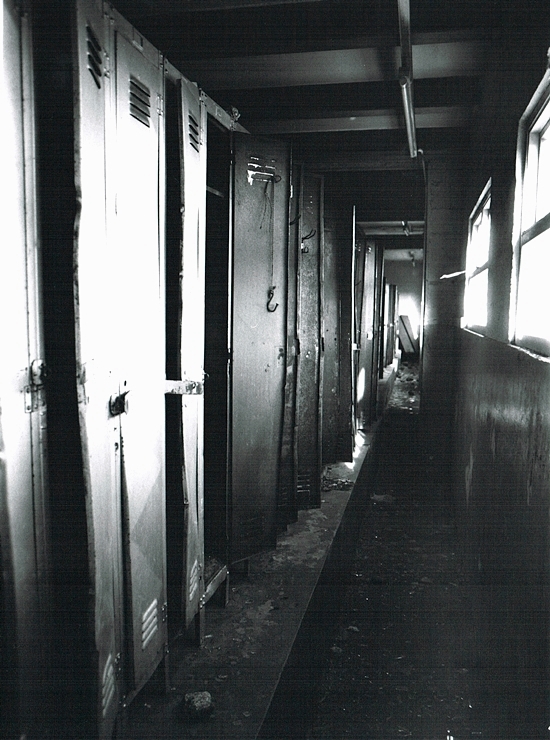
Cornish Mine Images 3.6 – Although many of the lockers were battered the dry was still in a reasonable condition. If the site had been secured properly this building may have been saved.
South Crofty Robinsons Shaft 3
Cornish Mine Images 3.7 – Looking down the empty isle of lockers. The building inside was pitch black and very spooky. The only light I had was from the flashguns and a zippo lighter.
South Crofty Robinsons Shaft 3
Cornish Mine Images 3.8 – Lit only by natural light an image of the smashed and empty lockers.
South Crofty Robinsons Shaft 3
Cornish Mine Images 3.9 – Empty lockers waiting quietly for the miners to come back off shift.
Cornish Mine Images
Cornish Mine Images 3.10 – This image is looking towards the shower area.
Cornish Mine Images
Cornish Mine Images 3.11 – The drying area of the facility. The miner’s underground clothes were hung here to dry ready for the next shift.
Cornish Mine Images
Cornish Mine Images 3.12 – One of the smaller locker and shower rooms off the main dry.
I continued to have a wander around, the whole place was amazing. It was an unforgetable experience.
Cornish Mine Images
Cornish Mine Images 3.13 – The Lamp Maintenance room in the Miner’s Dry, Also the old lamp charging rack was still there.
Cornish Mine Images
Cornish Mine Images 3.14 – Another view of the lamp charging rack. Some of the old lamp cells were scattered over the floor.
Cornish Mine Images
Cornish Mine Images 3.15 – The Robinson’s Side Blacksmith’s and Drill Sharpening Workshop. In the foreground of the image is a Climax Drill Sharpener. Next to the bench the anvil, also in the background is one of the forges. This building dates from around 1910 and is part of the original complex.
Cornish Mine Images
Cornish Mine Images 3.16 – Another image of the Blacksmith’s workshop. Also the second forge can be seen on the right of the image. This was taken before the vandals had gained entry.

South Crofty Mine – Robinsons Shaft: 4

Contact

error: Copyright Simon Jones 2022